
Mahjong End Tables (Pt. 1)
Hey, tile-slingers! I’m making end tables!
A year or so ago, a local player got his hands on a Chinese auto-table through a buy/sell/trade app. As I recall he got it pretty cheap, but it didn’t function properly. He held onto it for a while intending to try and repair it.
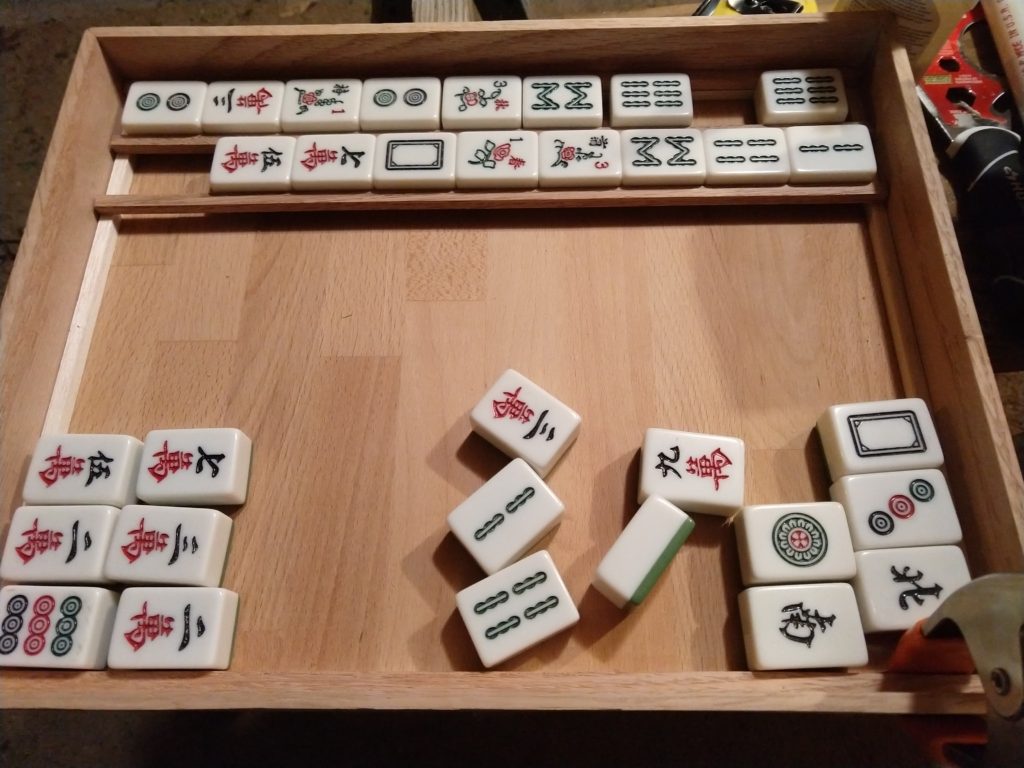
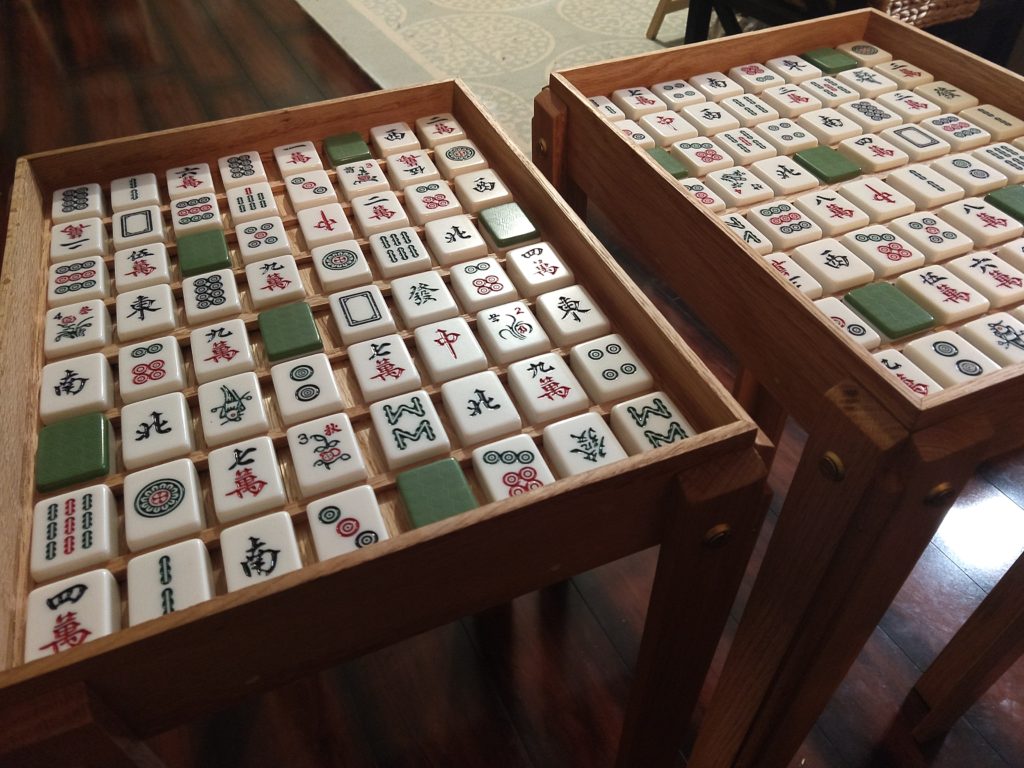
Good intentions don’t always work out. Earlier this year he passed the table to me to see if I could work with it. Besides the mechanical and/or electrical issues, one of the two sets that came with the table was missing a tile. I would have to replace the missing tile or the entire if I ever got the table working.
I’ve tinkered with the auto-table a bit, but after the last round (and a few sparks), I feel the thing was beyond my capacity to repair. As they say, “Once you let out the magic smoke the widget stops working.” For now it’s gathering dust in the garage. but I am going to up-cycle the incomplete tile set. The end-tables that I use in my mahjong room could definitely do with replacement so I decided to use those tiles as a feature in a new set of hand-made tables.
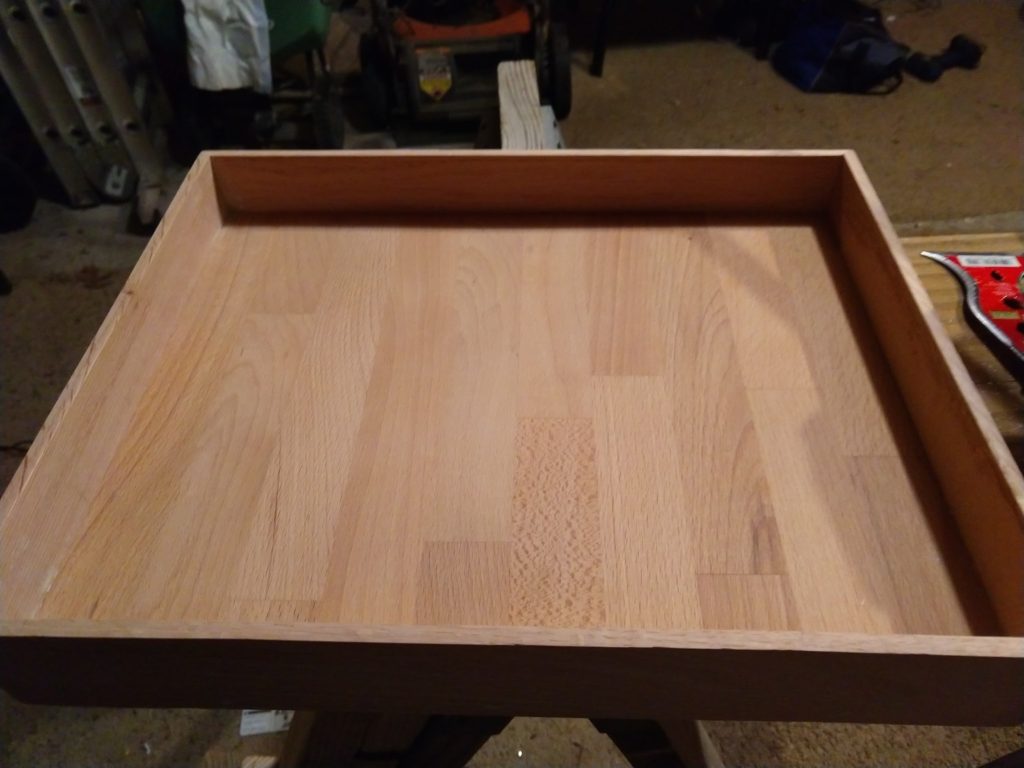
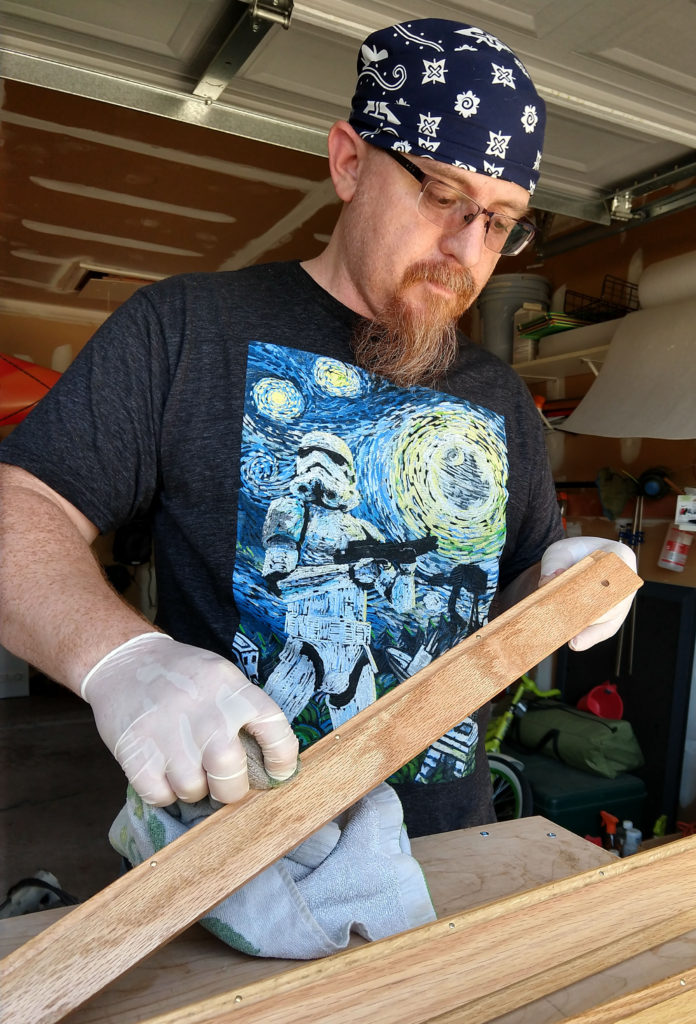
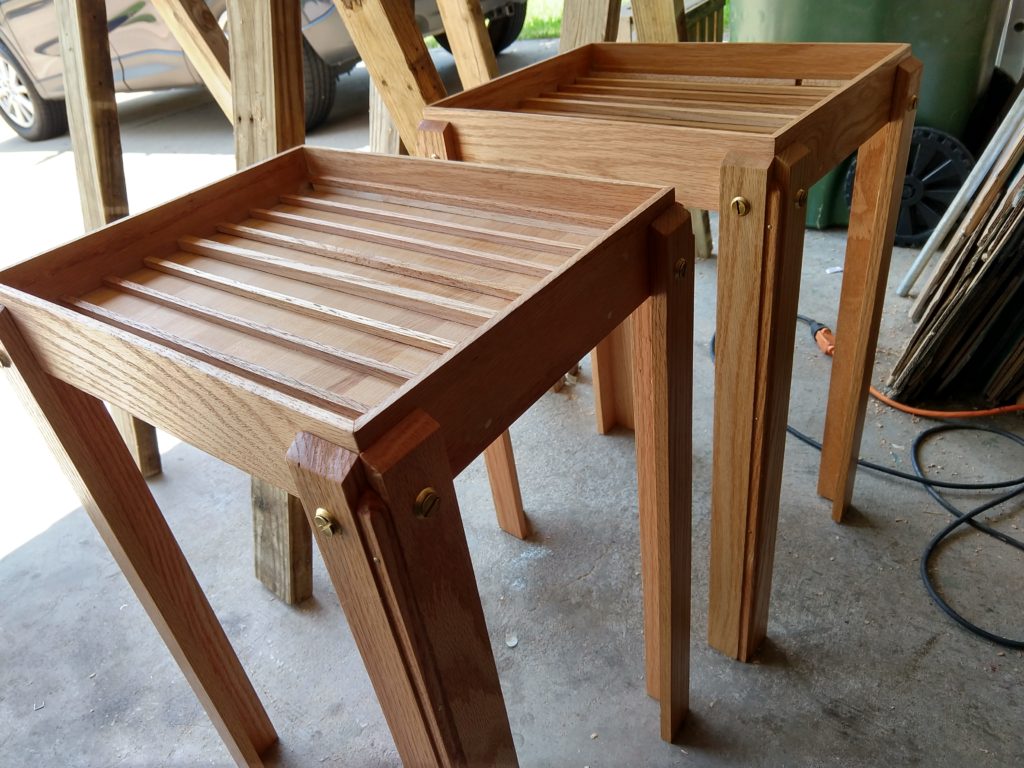
I am really looking forward to finishing these end tables. They are such a step up in quality and character than the plain tables currently in use.
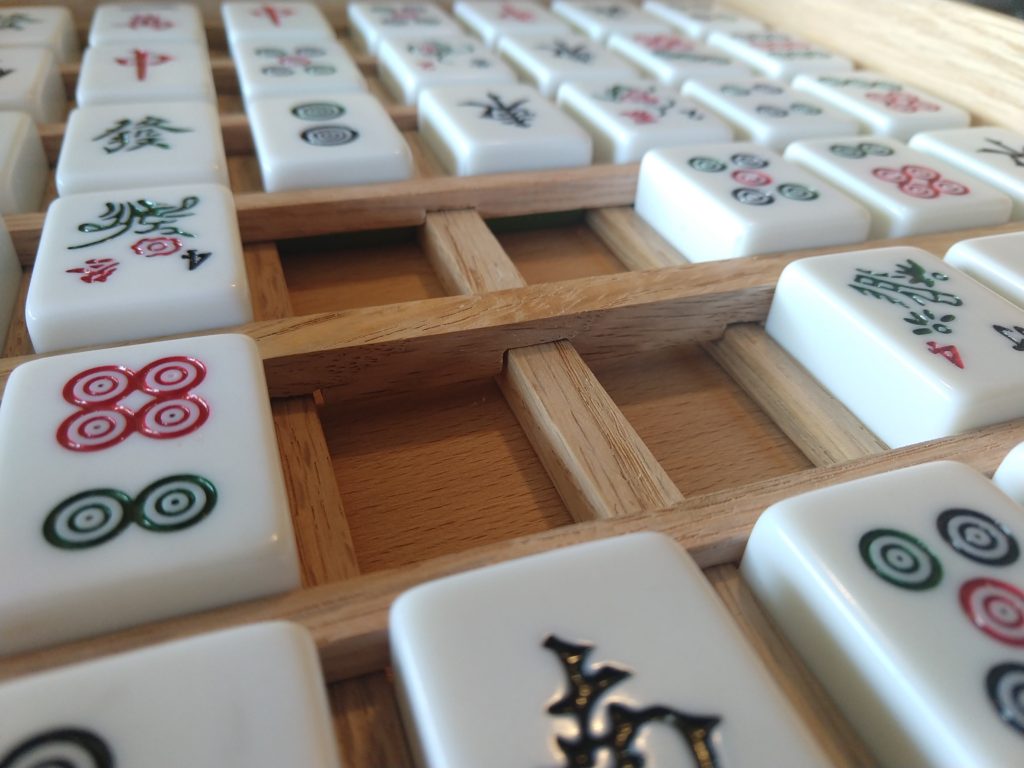
In Part 2 I will be filling the tables with epoxy resin which will hopefully capture the depth of these tables in a hard-wearing surface. In the mean-time, you can clean up your table with 500pt tembo!