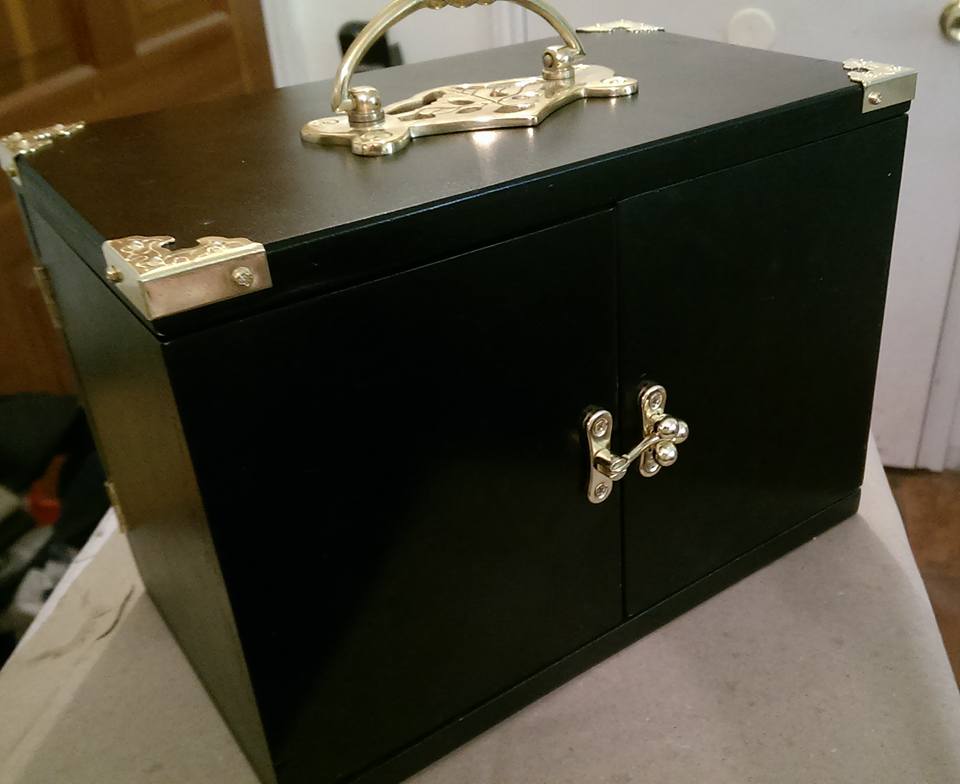
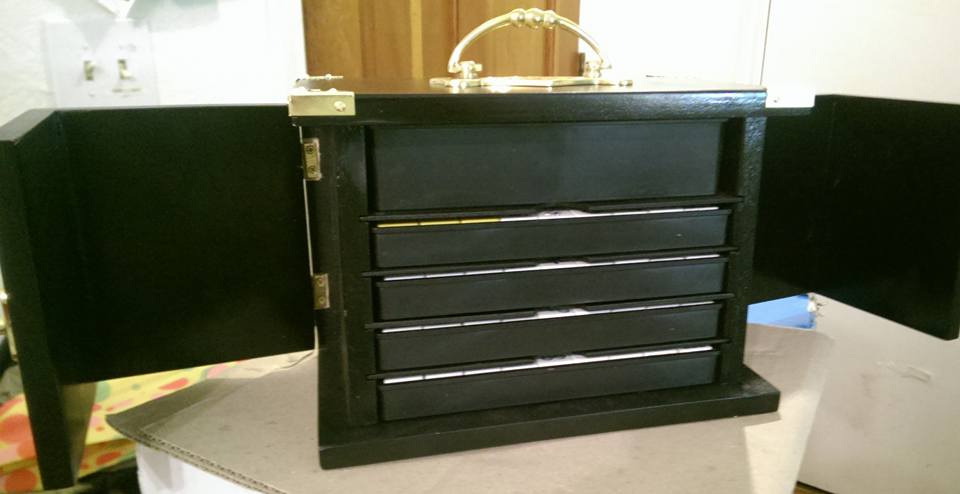
That time I built a box for YM Riichi tiles
Today I’m going to resurrect some images from a build I did waaay back in 2015 for a box to hold my first set of Riichi tiles. I was still new to playing mahjong, and sources for buying tiles were (and still are) very limited. My first set was bought from Yellow Mountain Imports. The standard tile case was serviceable, but I was worried about long-term wear and I wanted something that looked better on the shelf.

The idea was to use all the stock trays that held the tiles, sticks, markers, and dice that would stack into small shelves that were easily accessible. I started by taking a series of precise measurements of the containers and figuring out how much clearance was needed, drafting diagrams, and doing small mock-ups to make sure everything was as precise as I could make it. U.S. customary units were no good here; metric is king.
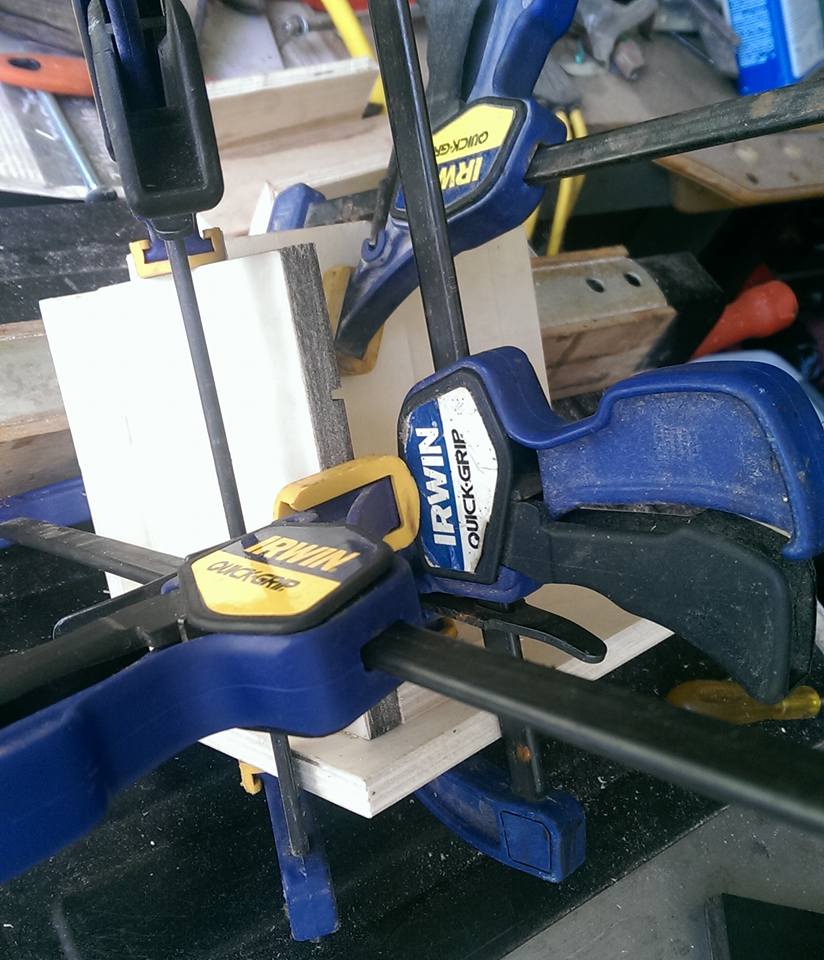
I used birch plywood for the everything except the shelves. Birch cuts easily, has a fine grain, and is dimensionally stable which means it won’t swell or warp much. I had to take a lot of time to make sure my cuts were measured and square; I was not looking to make the box seamless, but tolerances were pretty slim.
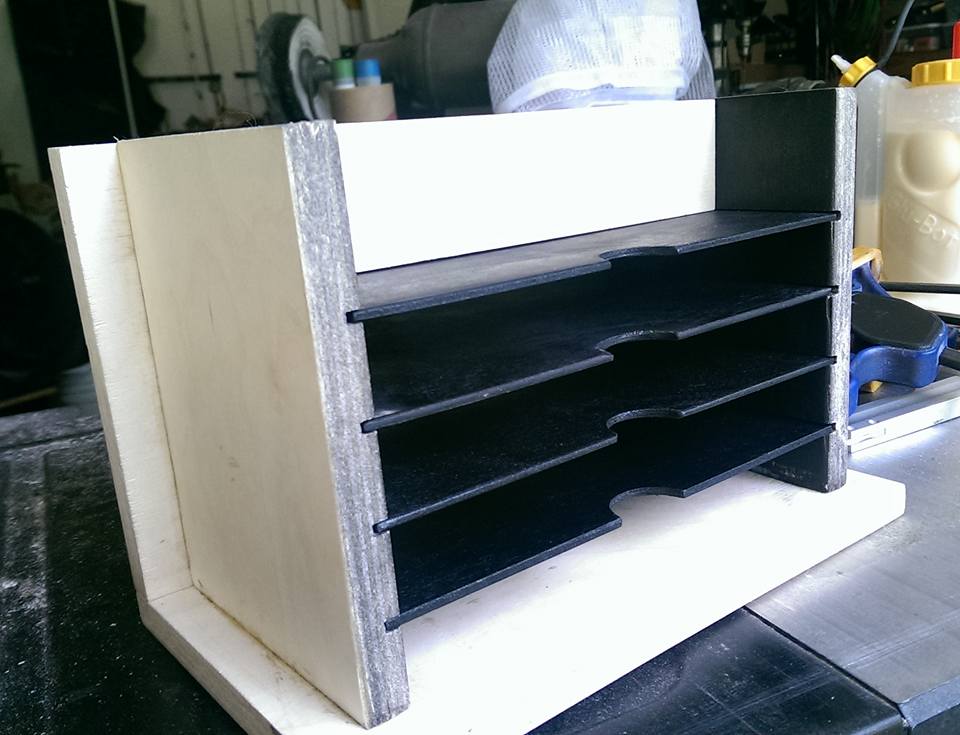
The shelves are cut from a thin sheet of birch and have finger slots in the front to make tray removal easier. Each shelf is removable if needed. There is a baffle fitted along the top shelf that keeps the narrow point tray from sliding too deep. Incidentally, this creates a secret compartment behind the baffle. Well…not-so-secret compartment now.
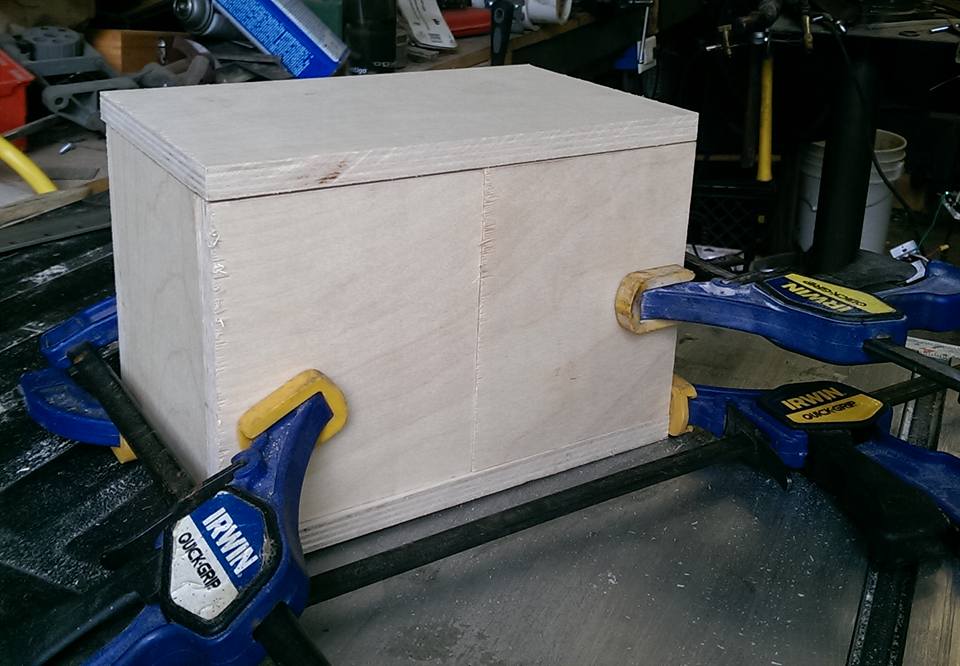
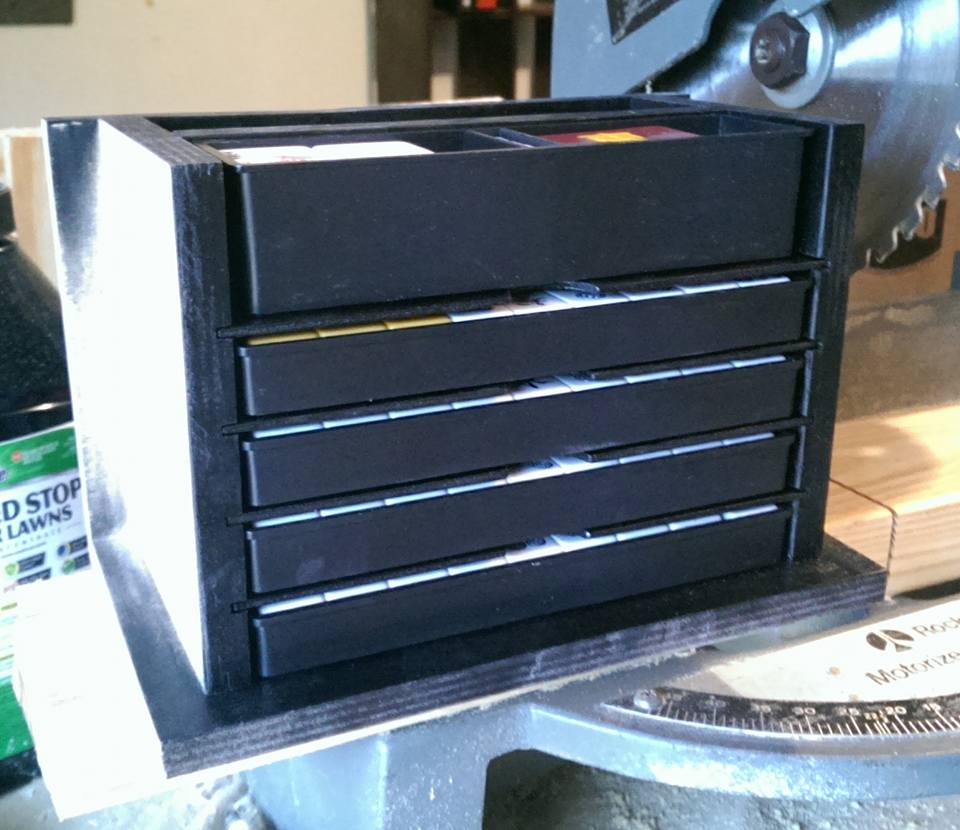
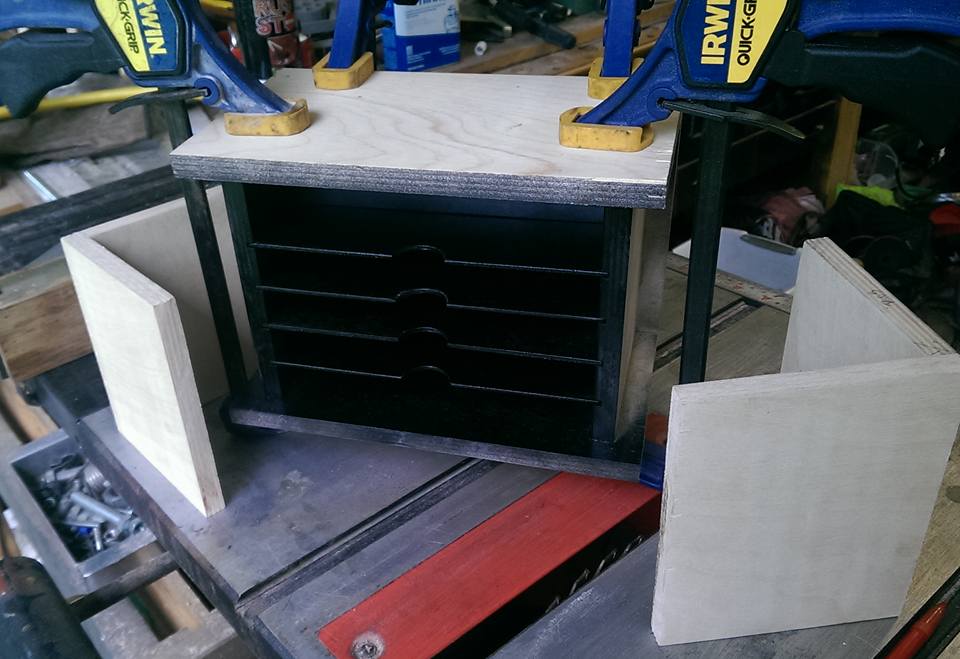
Once all of the fixed pieces were in place, the entire box was sanded and painted. I used a good quality spray-paint to put on several layers of black followed with a poly-coat sealer. I would us a harder sealer in the future I think. Time and wear over the years shows on some of the edges now.
Brass or brass coated fittings were used on the box, including the ball-feet that were added to the box after these photos were taken. Door hinges are set flush with the wood so gaps are minimal and the corners are protected from damage. The handle is heavy and firmly secured to the box, and the door-clasp fixes tightly so it doesn’t pop open during transport.
The whole thing is in the hands of my brother these days. It’s a strong and compact box that has held up well. You probably wouldn’t want to tote it around on a daily basis as it is obviously heavier than your standard tile case, but it definitely keep your tiles safe. One drawback is that it will only fit Yellow Mountain tiles. They are a fraction smaller than many other manufacturers sets which are just millimeters too thick to fit the shelves.
I hope you enjoy this build and it inspires you to craft something of your own! Let me know what you think in the comments, or if you have any questions or suggestions.

