Mahjong End Tables (Pt. 2)
To finish the end tables I started in Part 1, I am going to fill the frames with epoxy resin. This will take 3-4 pours.
The Seal Pour
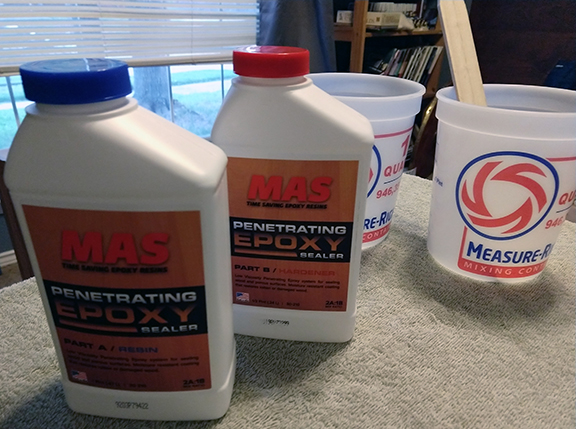
Before committing to a large amount of resin, I need to seal the wooden surfaces that will come into contact with the mixture. Epoxy resin cures in a chemical process that generates heat. The heat causes wood fibers to expand slightly, releasing trapped gasses within. Bubbles form in the resin as it hardens and can spoil the glassy look. Treating surfaces with a penetrating sealer locks the gasses in.
Mix up just enough and brush onto all contact surfaces. A bristle brush will work better than a foam brush; just make sure you comb out the brush before starting so no fibers come loose into your epoxy.
Allow it to set overnight.
First Deep Pour
Because epoxy’s curing process is exothermic (produces heat) it is possible to damage your project by pouring too much at once and producing an abundance of heat. Usually epoxy is poured one thin layer at a time.
But these tables are 1 3/4 inches deep and will require a lot of epoxy resin to fill. I don’t plan to do one thin pour after another.
Instead I have opted to use a “deep pour” epoxy that is poured up to an inch thick. Deep pour epoxy has the benefit of producing less heat at the expense of a longer curing time and slightly softer surface than thin set epoxy. This allows for more to be cast at once.
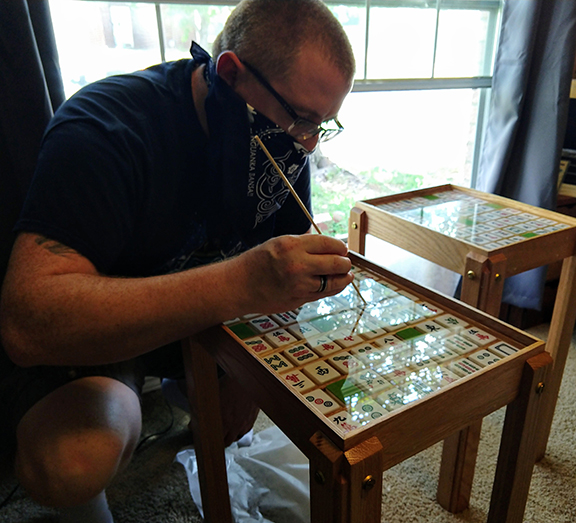
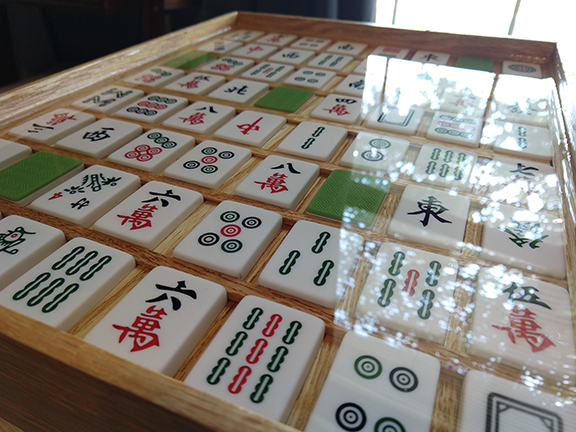
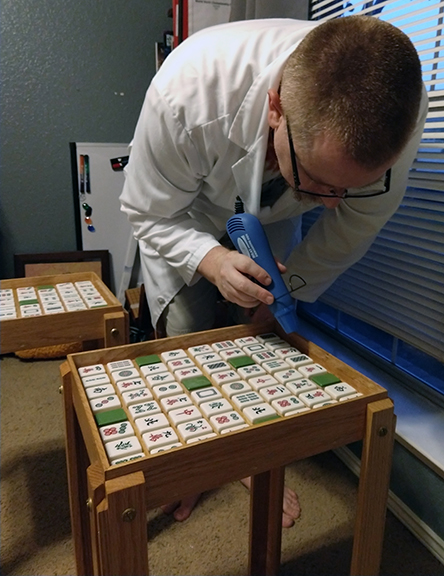
Until the resin starts to gel over the next hour or two, I will need to keep an eye out for bubbles rising between the cracks or seeping out of the wood. If I have done the sealing coat well, there should be little gassing. But just in case, have the heat gun/torch handy.
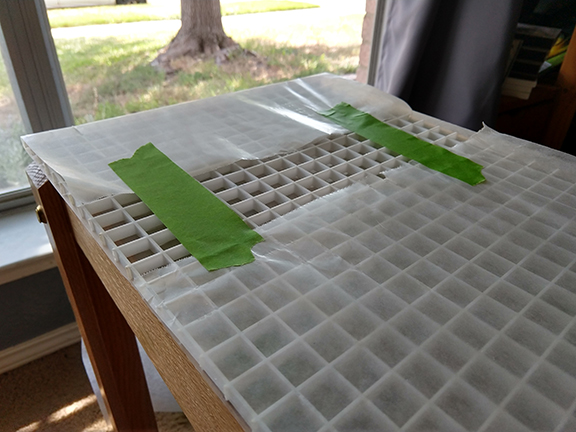
Second Deep Pour
The second deep pour is much like the first except I measure the end tables with a level to make sure the top is sitting flat. This time I stop the pour just below the top of the frame.
(I planned to have some images of the pour, but didn’t have anyone around to help me at the time. Take it from me—looks a lot like the first pour.)
Final Pour
I mentioned earlier that the deep pour epoxy sets slightly soft. Not so soft that anyone would notice (it is still a hard surface) but may be prone to scratching. I will make the final “surface” pour using a faster setting resin with a harder counter-top finish. This is a really thin coat that brings the epoxy just to the lip of the frame.
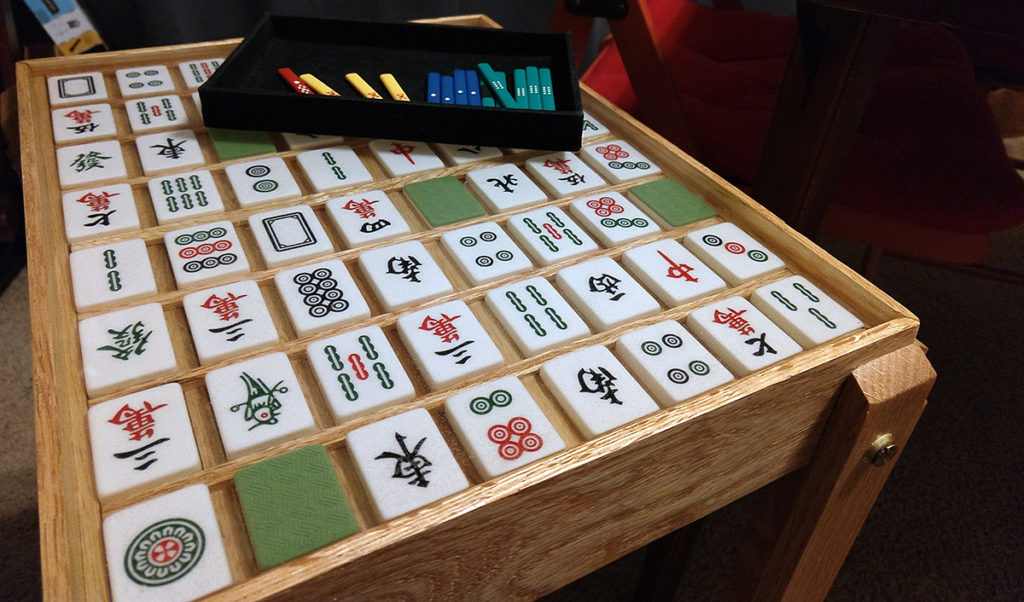
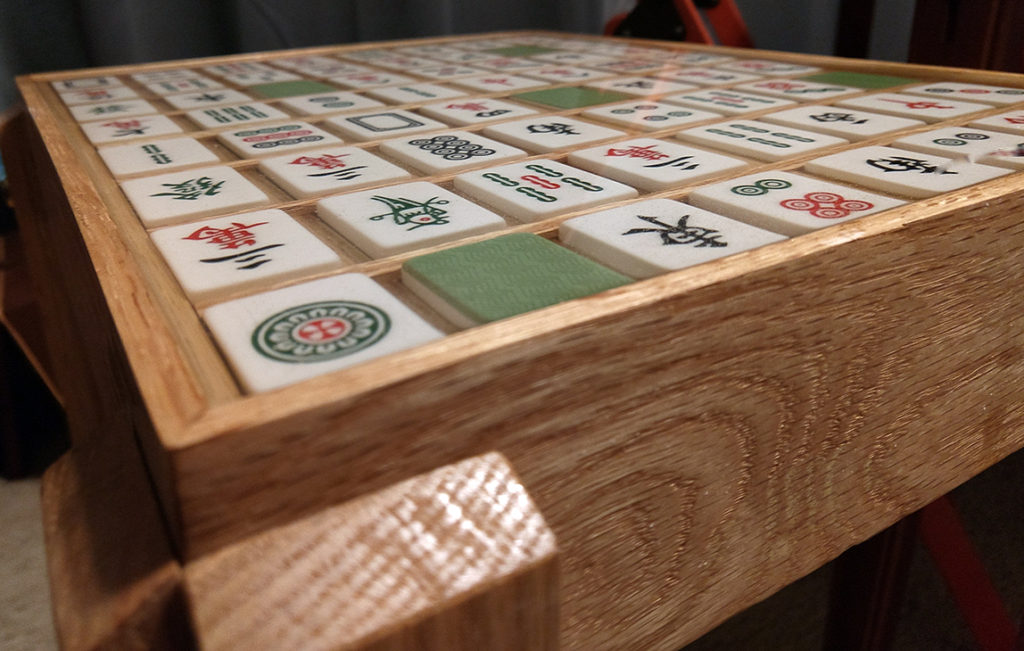
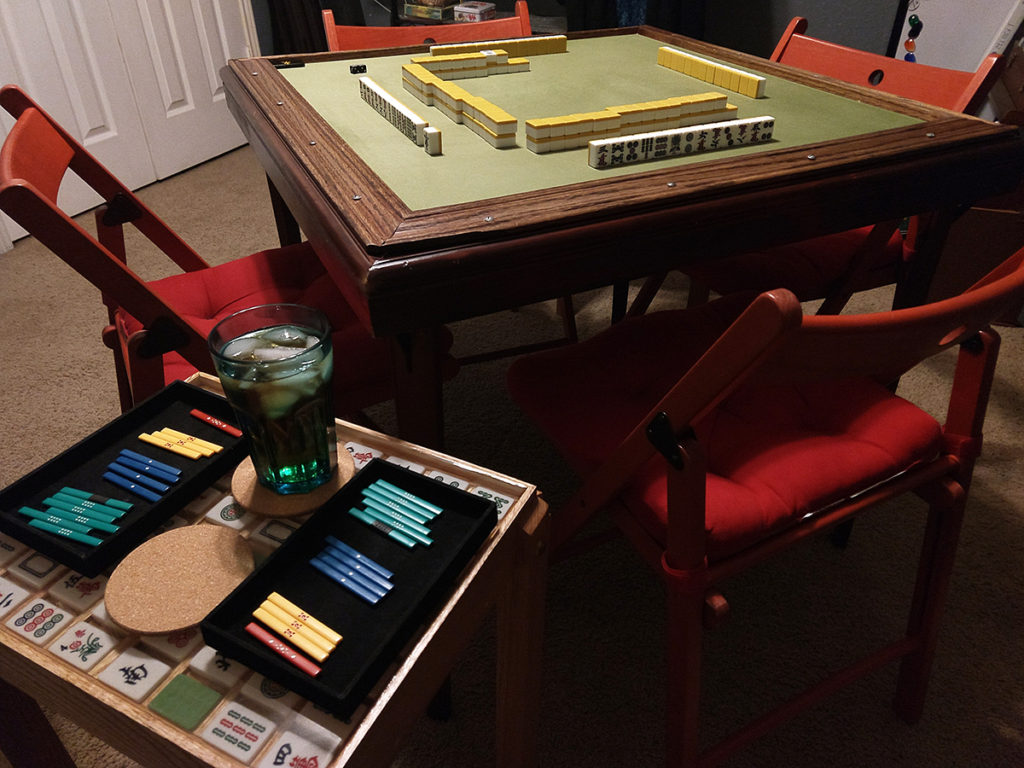
There were definitely things to learn during this project. This is the first time I have worked with this volume of epoxy resin. It is tricky to get right with lots of room for error. A second seal coat before the first pour would have saved me a lot of trouble later on. There was also more resurfacing and re-coating than I would have liked. Every pour is an opportunity to mess something up.
There are flaws in the finished end tables. overall they are functional and, as I stated in the first post, an upgrade over the folding tables I have been using.
Next, I think I am going to redo the big table.
